Ngā pakakau teitei - marimbas
With a few smaller instruments completed, I thought I'd better get stuck into the big ones: a set of marimbas! The contrabass marimba I made earlier has been popular with students, and marimbas are such an asset in an Orff music programme, so I planned to build 3 alto instruments to complement this.
As with the contrabass I used Jon Madin's Make your own Marimbas manual, but due to the difference in PVC pipe sizes in Australia where he developed them, I had to reconfigure the design. I chose to use individual pipes to amplify each bar rather than a generic wooden box as the tone quality is much better, and the quality of sound is very important to me in what I make.
Tuned 80mm pipes with caps
I built a frame for my first marimba based on the measurements I'd worked out, carefully sanding the edges to make it safe for little hands, and began tuning the individual pipes. This involved cutting up a 6m PVC pipe (downpipe), and reducing the length of each piece until it created the desired note, measured on an electronic tuner. These were then riveted onto a frame.
The pipe frame fitted snugly inside the marimba frame, where it is attached using carabiners for easy removal and transport.
Mounting the pipes inside the frame.
The removable caps on some notes are for making an F into an F# when needed.
Marking out the bars to tune and attach
I also marked the 30% mark of each bar, as I wanted to tune the harmonic overtones of the first 8 bars as well as the main note. This is where it gets complicated. When you hit a marimba bar (and other instruments) there are a number of different notes that sound, as well as the main note that your ear perceives as the dominant tone. By tuning the most prominent of these extra notes (overtones) to match or complement the main tone, rather than being random or out of harmony with it, the overall sound of each bar will be better. This is mainly done for lower pitched bars.
Tuning a bar for the marimba.
You can see how I tune the bass note and the first harmonic
It's a tricky process to tune the harmonic overtones as you have to cut wood away from different parts of the bar as you go, and altering each one affects the other, but it can be very satisfying when you master it. I did this to the contrabass marimba I made earlier, and students can now play not only the main set of notes (using soft mallets) but the overtones as well, striking near the ends of the bars with hard mallets to produce notes 2 octaves above the fundamentals. 4 octaves from a 2 octave instruments is a bit of a buzz!
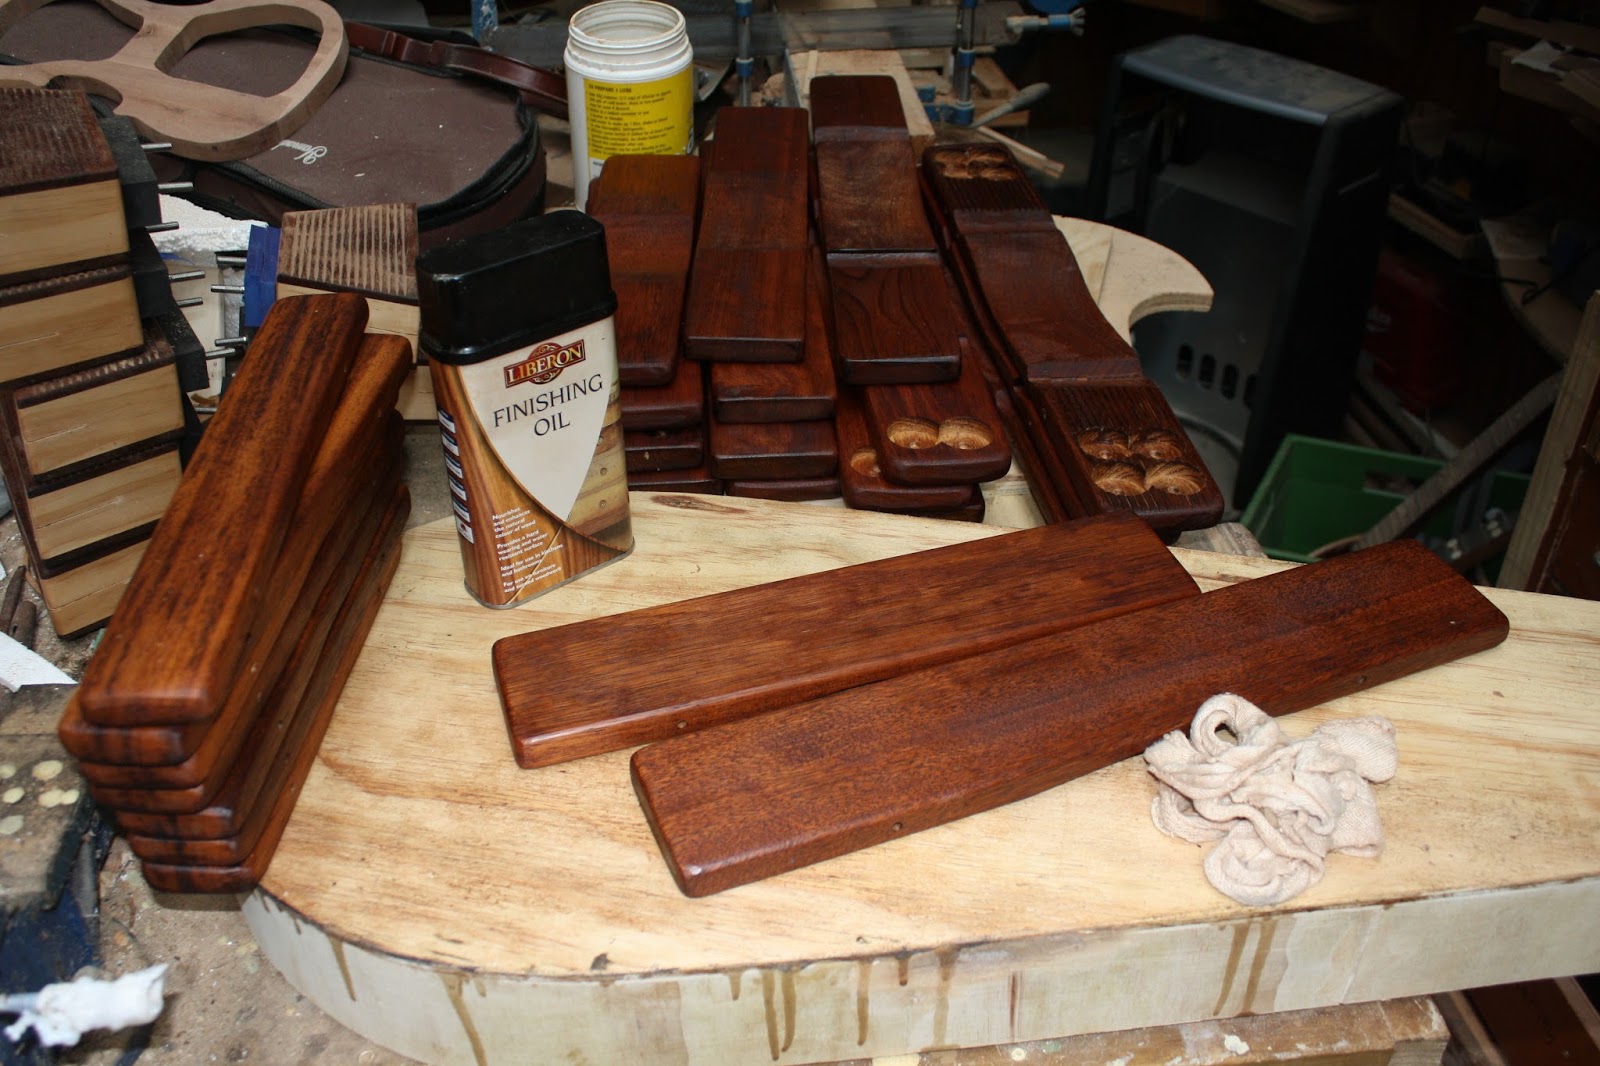
Oiling the bars to protect them and bring out the tone
Having deliberately left the bars slightly above their desired pitch, I oiled them with Liberon exterior oil before giving them a final light tune to bring them perfectly down to pitch (the oil drops the pitch slightly).
Gluing rubber strips onto the frame
As the rope based method I'd used on the contrabass didn't last very well, I wanted to work out a better way to mount the bars on my new instrument. Another marimba maker suggested rubber strips, but this meant the bars would bounce out of their nail holders, so I came up with my own system, drilling horizontal holes in the bars.
Some marimbas have their bars attached by a cord that runs through the whole set, but I needed to be able to remove individual bars at times (eg to make the instrument pentatonic), so I experimented by threading a length of 4mm shock cord (bungy cord) through each bar and binding the ends with cable ties so they could be tightened if necessary. By hooking these onto nails inside the frame, the marimba was complete!
Finally, I made mallets by drilling through rubber bungs and attaching these to wooden dowels, which I later stained, and named the notes using vinyl stickers kindly supplied by David Calwell from Wellington Signs.
Here is the completed marimba in action. I've since made two more, a lot faster now I've got a successful prototype - they only took 5 days to make both! As I think these instruments are real assets, I've decided to use the last few days of the project to make another two.
The marimba in action
 Murray showing us how it goes!